
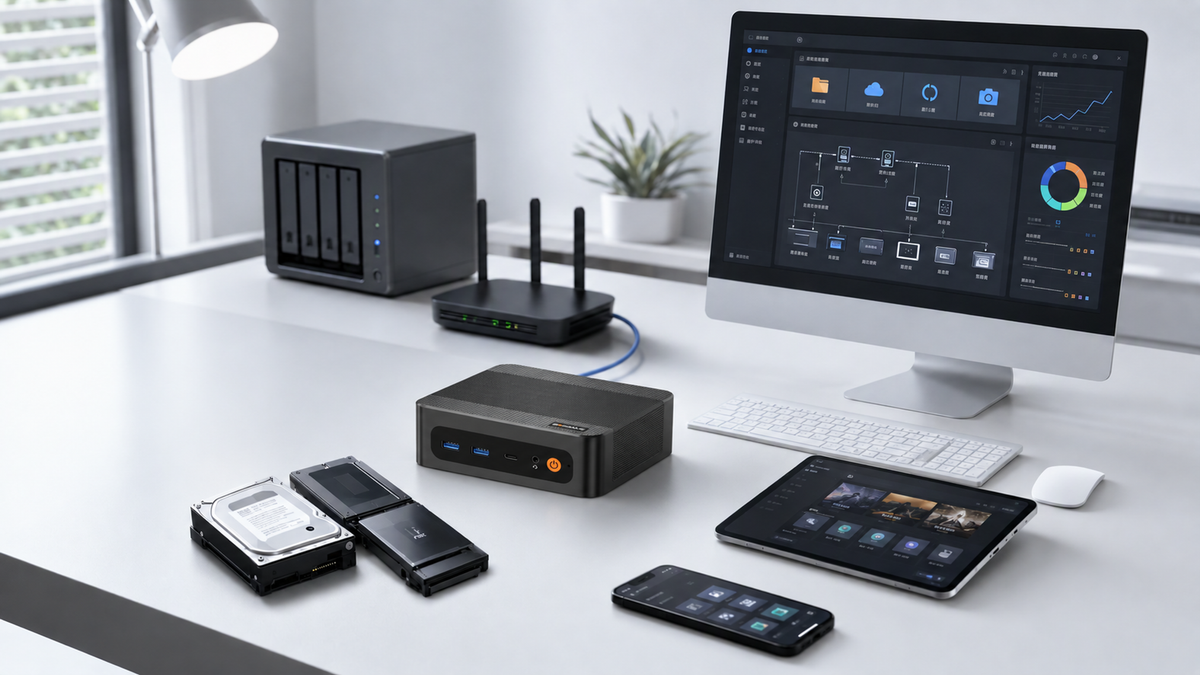
Setting up a home server with a mini PC is a practical way to build your own centralized hub for files, backups, media, and other services. But what exactly do you need to get going, and how do you set everything up the right way? This guide walks through how to build a home server with a mini PC.
What Do You Need to Set Up a Home Server with a mini PC?
Once you've got a mini PC, there are a handful of extra components and pieces of software needed to turn it into a working home server. The specifics depend on how you intend to use the server, but a typical basic setup calls for the following:
Suitable Storage
You'll need enough storage to cover the operating system, applications, files, backups, and everything else. An SSD delivers fast performance for the OS and apps, while external drives can expand capacity for files, media, and backups. Depending on the mini PC model, you might also be able to fit in a second SSD for extra room. Confirm that your mini PC for home server use supports the storage setup you want and has enough capacity for what you need.
Right Operating System
You'll need an OS to manage the mini PC and run server software. Windows and Linux are the most common picks, while platforms like TrueNAS and Proxmox are built specifically for certain server workloads. Pick your OS based on the services and apps you're planning to run.
Reliable Network Connection
A dependable network connection lets your home server talk to other devices on your network. For a basic setup, a router plus an Ethernet cable usually does the trick, and a wired connection holds up better for file transfers and other network-heavy tasks. Double-check that your mini PC has a network port that fits your needs.
Optional Equipment
Depending on what you're after, you might also want extra storage, an external backup drive, or a UPS (uninterruptible power supply) for your mini PC home server. None of this is strictly necessary for a basic setup, but it can add storage room, protect your data, or keep things running through a power outage.
How to Set Up a Home Server with a mini PC?
A lot of people assume setting up a home server on a mini PC is complicated, but it's actually far simpler than it sounds. This guide takes you through the whole process — from installing an OS to testing the finished result — so you can turn your mini PC into a working home server.
Step 1: Install the Operating System
Pick an OS based on what you want your mini PC for home server use to run. Your options range from Windows (familiar and easy to use) to TrueNAS or OpenMediaVault (built for file storage and backups), Proxmox (great for virtual machines and home labs), or Ubuntu Server (lightweight and well suited to Docker). Create a bootable USB drive with the OS you've chosen, plug it into the mini PC, and boot from it. Follow the on-screen prompts to set up the system, create an admin account, and finish the initial configuration. The exact steps will vary a bit depending on which OS you pick.
Step 2: Connect the Mini PC to Your Network
Hook your mini PC home server up to your router, ideally with an Ethernet cable for a more stable connection. Once it's connected, check the server's IP address and make sure other devices on your local network can reach it. For easier management down the road, consider setting a static IP or a DHCP reservation so the server always holds the same local address.
Step 3: Configure Storage
Once the OS is installed, set up storage for your mini PC for home server use. Initialize and format the SSD, then build out the storage volumes and folders you need. If your mini PC can take multiple drives, you can add extra storage or set up a RAID array depending on your goals. Just keep in mind RAID adds redundancy but isn't a substitute for regular backups.
Step 4: Set Up File Sharing
With storage in place, set up file sharing so other devices can reach your mini PC home server. Create shared folders and assign the right permissions to different users. On Windows and most Linux systems, SMB works well for sharing files across a local network. Test the connection from another computer and move a few files over to make sure the shared folders are working properly.
Step 5: Install and Configure Server Applications
Once the basic setup is in place, install whatever applications and services you actually need. Depending on your goals, a mini PC for home server use can run media servers like Plex or Jellyfin, smart-home platforms like Home Assistant, or container tools like Docker. Stick to installing only what you need, and follow each app's setup instructions to avoid wasting resources.
Step 6: Secure Your Home Server
Before putting your mini PC home server into everyday use, cover the basics on security. Set a strong admin password, keep the OS and server apps updated, turn on the firewall, and switch off any services you don't need. Use separate accounts with appropriate permissions for sharing files. If you need remote access, look into a VPN or another secure remote-access option instead of exposing services directly to the internet.
Step 7: Test the Home Server
Before relying on it for anything important, put your mini PC for home server use through a few tests. Confirm other devices can reach shared folders, transfer files, and connect to the services you've installed. Keep an eye on CPU usage, memory, storage capacity, and temperatures under normal use. Restart the server once to check that services come back up correctly, and make sure your important data is backed up before putting the server into regular use.
Conclusion
Setting up a home server with a mini PC turns out to be a pretty straightforward process. Not sure which mini PC fits what you're planning for your home server? For lighter tasks like file sharing or running a single media server, a mini PC with decent RAM and storage should do the job. If you're planning to run several containers or services at the same time, look for a model with stronger CPU performance, more RAM, and room to expand storage. Browse BOSGAME's mini PC lineup to find the right fit for your setup.


Leave a comment
All comments are moderated before being published.
This site is protected by hCaptcha and the hCaptcha Privacy Policy and Terms of Service apply.